FxBlox App Setup
Installing the FxBlox App
warning
Please note there is no need for extra reboots, long waits other than what is specified or multiple retries if you exactly follow these instructions. If at any point it is not as expected, it means there is an issue and you need to contact hte support
Initial Setup
- Download the App:
- For Android: FxBlox on Google Play (v1.6.14+).
- For iOS: FxBlox on AppStore (v1.6.14+).
- Metamask Wallet: Ensure you have a Metamask wallet for setting up your identity.
App Configuration Steps
info
If adding more than one FxBlox to your app, get familiar with these instructions first.
info
For a successful setup you should either have the Blox with internal storage, or attach an external storage to it.
warning
Please make sure to first uninstall (not update) any previous version of FxBlox on your phone and then re-install the latest version
- Open Metamask Wallet. We recommend having the opening network set to "Ethereum Mainnet" for a smoother setup process.
- Minimize Metamask (not close) and open the FxBlox app.
- Read the Terms and Condition and if you agree, then select
Agree and Setup Bloxin the app. - Enter a memorable password for data encryption and click
Sign(Note: This is not your Metamask password). - Complete the connection in the Metamask app, then return to the FxBlox app.
- You may need to click back to manually return to the app if it does not open Blox automatically after you sign in Metamask
- It does not matter which chain (Ethereum, Amoy, etc) you are on in your Metamask wallet.
- Tap
Connect to new blox. - Manually connect your phone to the "FxBlox" WiFi/Hotspot, and turn off "mobile data", then continue in the app.
warning
Everyone should format their storage in step 8. If you have Blox with internal storage, disconnect any external disk. If you have Blox with no internal storage, attach your external storage. At the "set Authorizer" page, wait for 10 seconds and a green button named "Format Disk" appears. click on it and blox turns purple and reboots after a few minutes. The app goes to Connect to blox screen again. You should wait for the light to turn flashing light blue again and then reconnect your phone to FxBlox again to continue the process.
If for any reason you see the capacity at 0 again after Format, you should format the external disk yourself, of if you have 1TB internal, contact support
- Make sure you have attached at least 300GB of external storage to your FxBlox. Proceed by clicking
Nextonce the app recognizes the storage.- If the storage is not recognized ensure that is it correctly formatted by clicking on the
Formatbutton.- The light will turn purple, to indicate it is formatting. Formatting times depend on storage medium and capacity, so be patient during this time. Device will reboot automatically and eventually start flashing light blue again when it is ready to proceed.
- If you have an FxBlox version with internal storage, there is no need to attach external storage.
- If the storage is not recognized ensure that is it correctly formatted by clicking on the
- Select your desired WiFi network for the FxBlox and enter the password.
- If you entered the wrong password, double check you're connected to FxBlox Wifi and just go back to the wifi selection screen to choose and re-enter your password.
- Finally, on the last screen reconnect your mobile device to your home WiFi and you can turn on the mobile data again if you want to. The app will confirm the successful setup. Please note the app does not continue if you do not have an active internet connection. When Blox is connected to the internet, the LEDs turn
greenfor 30 seconds and then turn off. - We recommend unplugging and replugging the Blox after the initial setup once for a hard reboot and ensuring that everything is set. After you re-plug the power and it boots, it may reboot automatically once as well.
info
At the end of the setup when it is completed, the chain starts syncing. It may give a popup to Reset Chain Data, Please ignore that and wait until the sync is completed. you can check the progress of the sync in Settings -> Pools
Troubleshoot
- Final step connection issues: Connect to mobile or home wifi, restart the FxBlox app, select
Connect to Existing Blox. If that doesn't work, restart the FxBlox device. Close app and reopen to proceed withConnect to new Blox. - If Metamask doesn't redirect after signing transaction: Manually go back to the FxBlox app.
- App issues with Metamask: On some phones, if you cannot get the "Connect" and "sign" prompts in Metamask, you may need to put both the Metamask app and Blox app in Unrestricted mode from the "Battery Optimization". Go to:
Settings>Apps>FxBlox>Battery/App Battery> ChooseUnrestricted. Do the same for the Metamask app. After the setup, you can return it back to the default ofOptimized
Add Multiple FxBloxes
As of Android/iOS app version 1.6.7, there is not an easy way to add more than one blox to your account. Follow these additional steps if you would like to connect more than one blox:
- If not already done, complete setup of your first Blox.
- Verify Blox is listed as
AuthorizedunderSettings->Blox Discovery. If not, restart your Blox by unplug/plug-ing it back in. Log Outof your account by going toSettings->Log Out.- Proceed and complete set-up of your next FxBlox.
- Repeat steps 2-4 for all the FxBloxes you have, except for the last one.
info
If you're using the default naming scheme
Blox unit #X, then name your last BloxBlox unit #1. The reason for this is because the app will auto-number the rest of your Bloxes when you add them back in. - When you've finally added the last FxBlox, go to
Settings->Blox Discovery. - All FxBloxes should say
Authorized, so select them and clickAdd selected blox(s). - Verify you can see all of them by going to
Bloxtab and swiping left/right between them.
info
As you can see the functionality is there, but prioritization of an easier way to add them is scheduled for after testnet launch.
Our apps are open-source and built in React Native for cross-platform support. So if you would like to contribute to the project, that would be greatly appreciated!
Format Drive
If you were eager to test out nightly releases on your own, you may have trouble joining the official launch of the testnet. This is because the blocks from the temporary chains are incompatible with the official testnet blocks. To fix this, you need to erase all previous blocks, easiest way is to format the drive.
To format your drive:
- Tap on the
Bloxtab to see this screen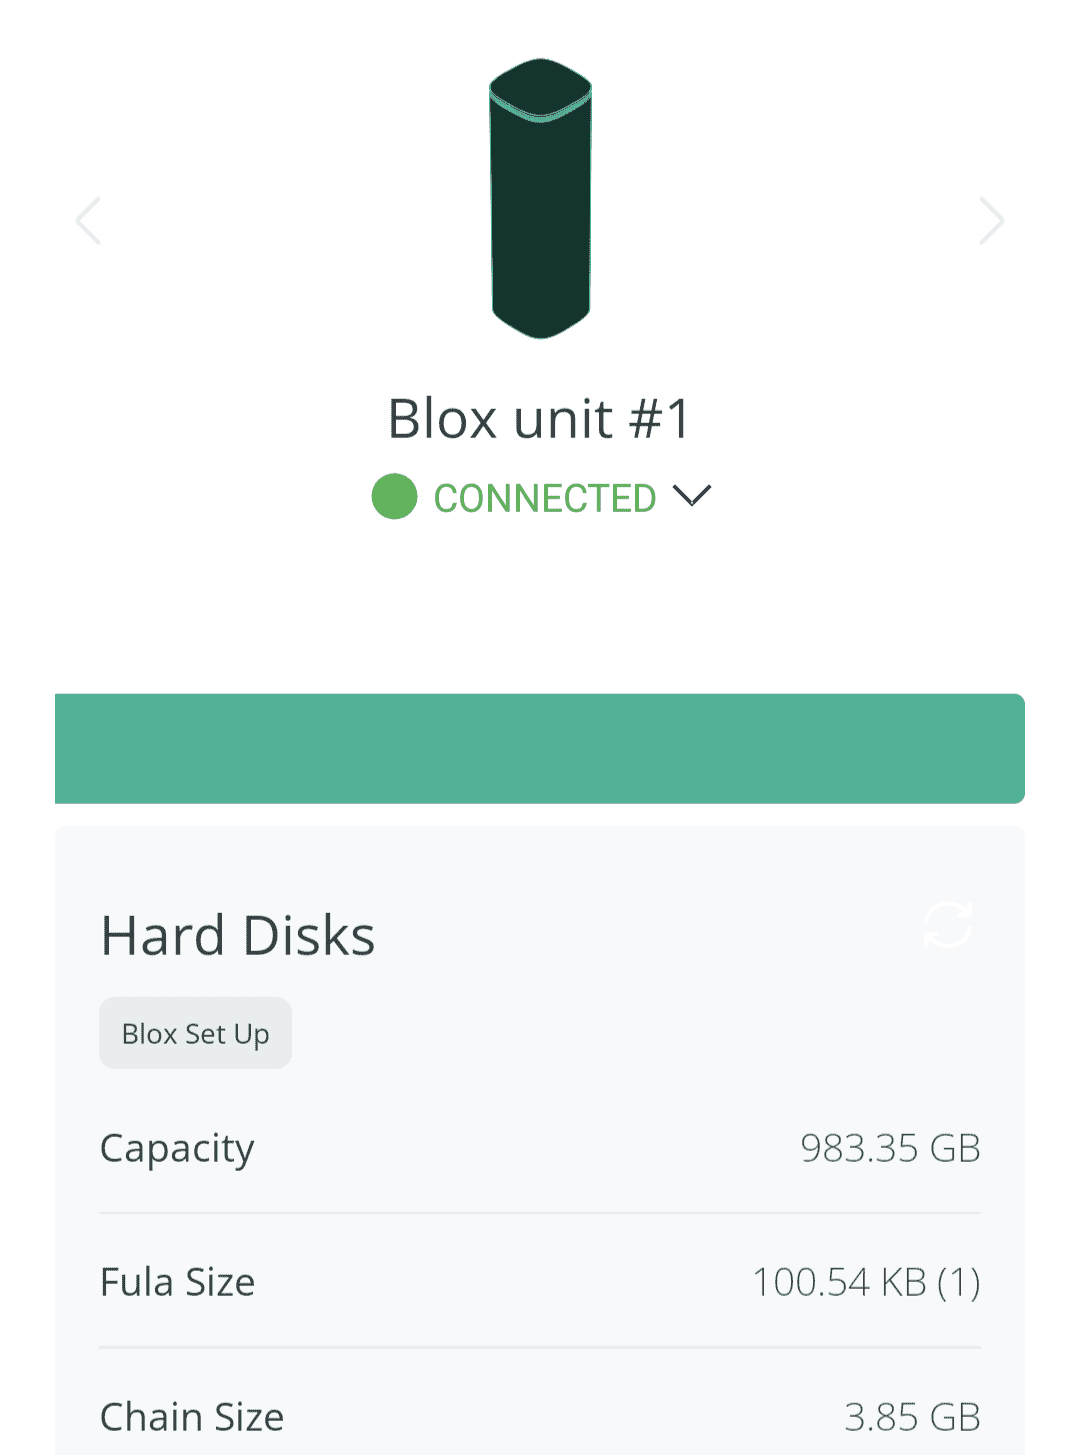
- Tap and hold the
Hard Diskyou want to format - When the pop-up shows, click the
Formatbutton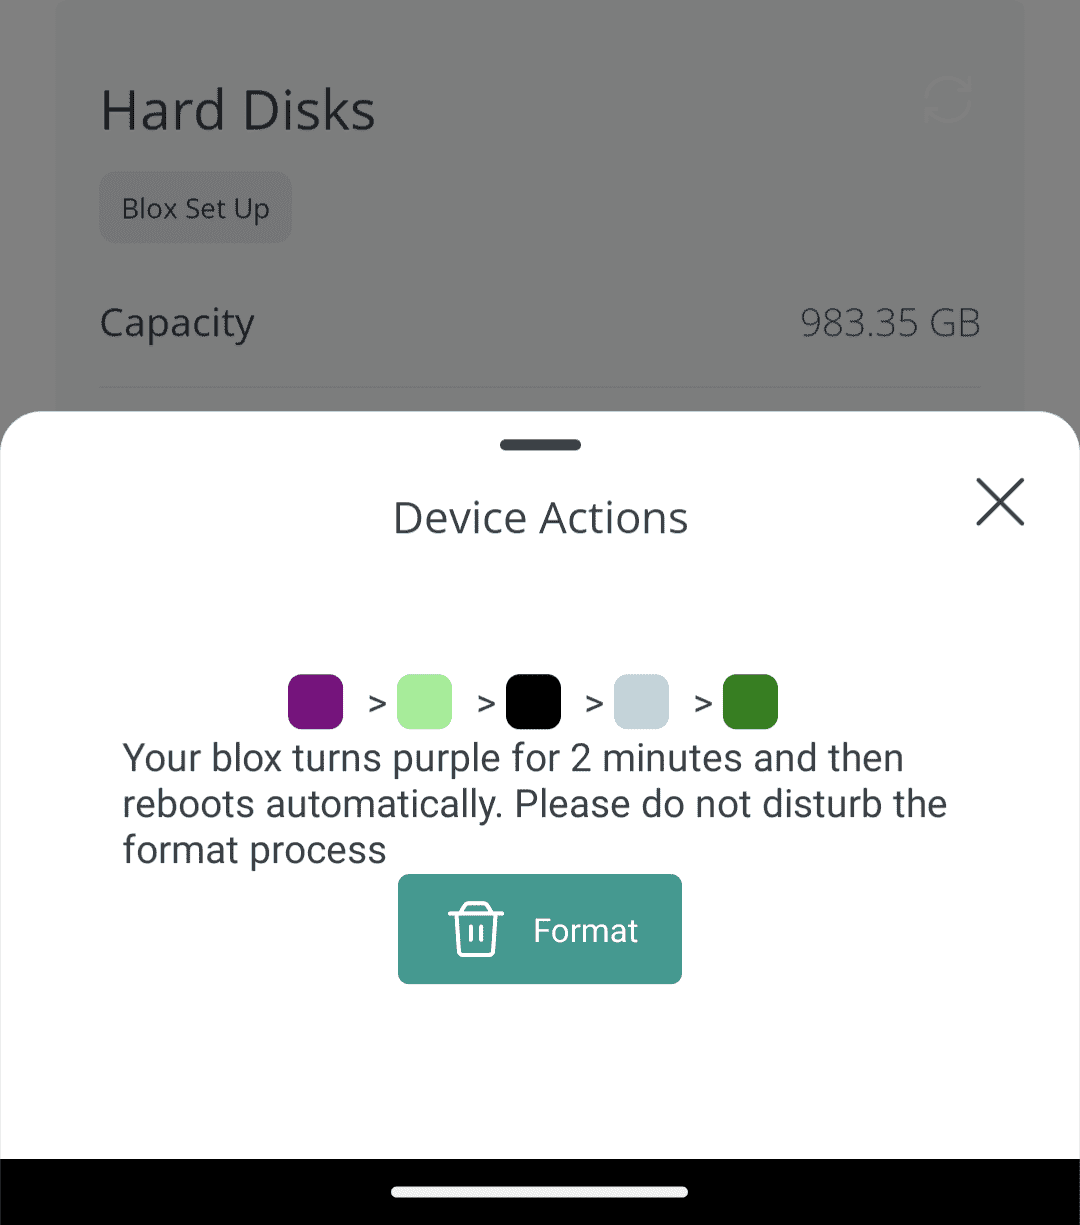
- Now wait! The light will turn purple. This process may take more or less than 5 minutes, dependent on the speed of your drive.
- The FxBlox will auto-reboot, after it is done the lights will turn off.
FxBlox will automatically connect to testnet and save chain history. You should be able to join testnet now.
App features
1- You can transfer your earned tokens to your wallet by holding your finger on the Earnings section in the Home Page and paste the address of you wallet by clicking the icon (Please note manually entering is not allowed)
2- You can format the storage by holding your finger on the Hard Disks section of the Home Page
3- You can check blox details by clicking on the blox icon in Home page and some other details by clicking on the profile icon on top right
4- You can see added or existing Bloxes in the network, when you are connected to the same wifi as blox and choose Blox Discovery from Settings tab