Install Fula Node on Windows
This guide is for getting a Fula node installed on a Windows machine and adding it to testnet. To get an invite, you can ask a community memeber in Telegram or Discord. If already a Blox or NFT owner, you can join testnet with Indiegogo order or wallet address, respectively.
Video Guide
Written Guide
Download Docker Desktop
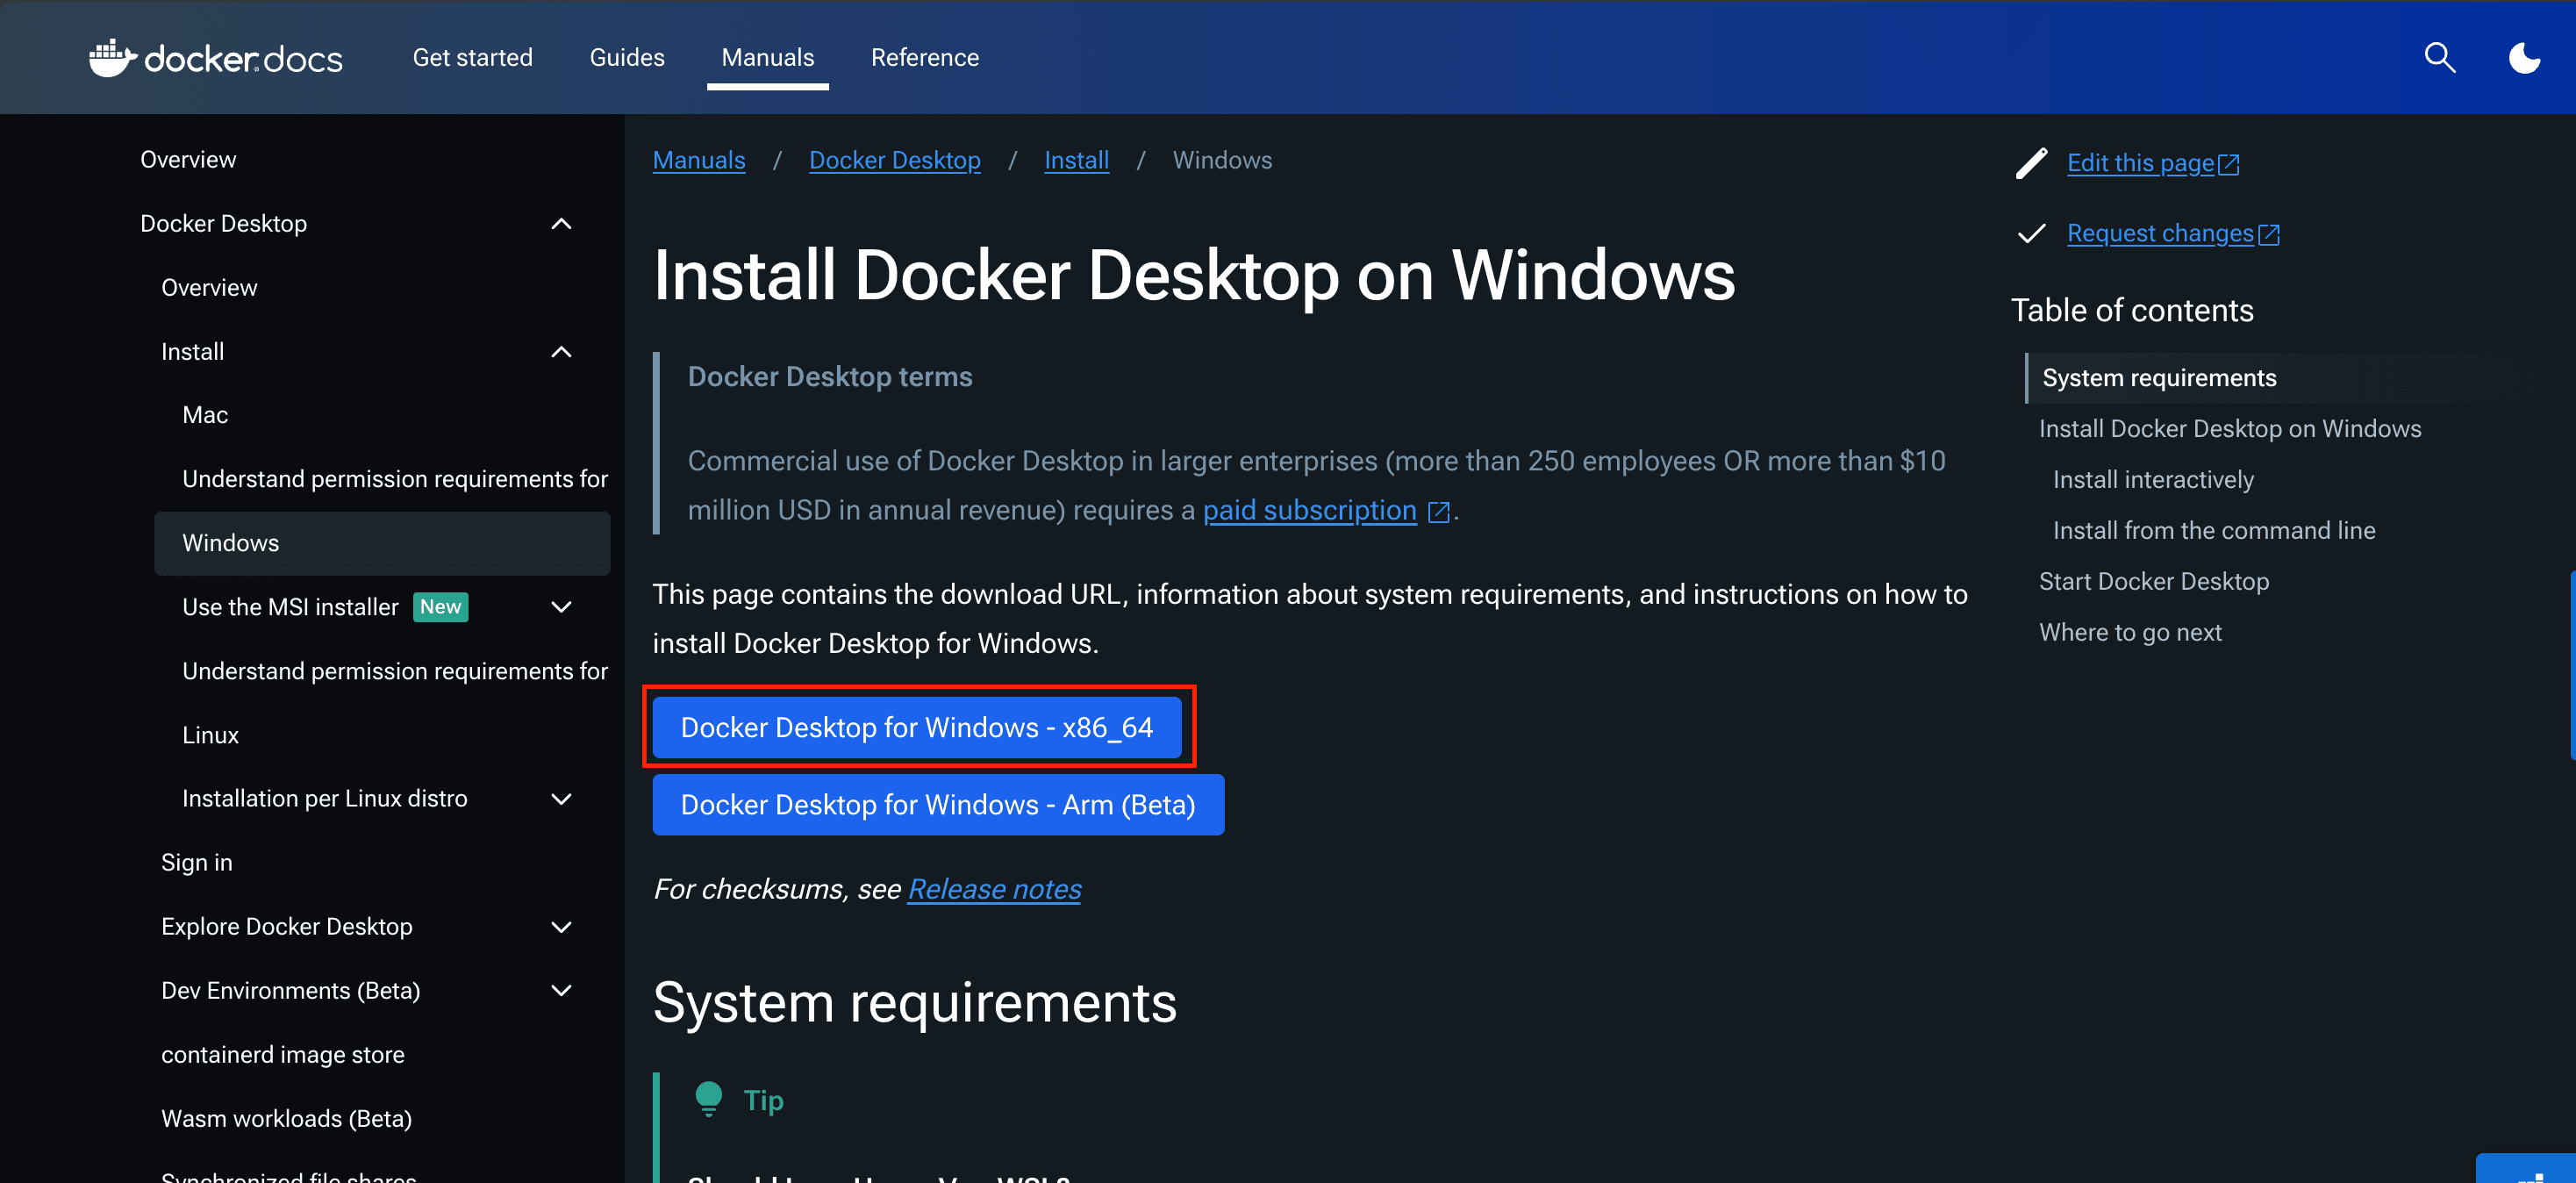
The Fula node is a set of Docker containers that work in tandem to sync the network of Bloxes and store and retrieve data. Docker Desktop can be downloaded from their website. Follow the official instructions to do so.
Install WSL2
If Docker Desktop does not install, try installing the Windows Subsystem for Linux (WSL) first. You can do so easily by opening PowerShell in Admin mode. And run:
wsl --install
After which, attempt to run the Docker Desktop one more time. For more information on WSL, check out the official Microsoft WSL guide.
Install and Run Docker Desktop
Install and run the application to run through the setup process. Sign up for a Docker account if you don't already have one, otherwise go ahead and log in. Answer the basic questions, and move through the next steps until you get to the Container View page.
Install and Run Fula Node
Follow this link to download the Fula Node for Windows.
- When it finishes downloading, your browser may flag the executable as non-safe, but click Keep Anyway. Then, continue with double-clicking on the exe.
- Accept user license agreement.
- Choose where to download the program files to.
- Choose what drive that the Fula Node will use to store files.
- Accept the prompts from Windows to open up the ports the application is requesting access to.
- Start the Fula Node by doing a Windows Search for Fula Start.
- Wait ~10 minutes for the Fula containers to download and start running.
Join Testnet on Windows
- Open Taskbar and click on the Fula icon.
- Click View Terms, then click Accept Terms and Continue.
- Set a password. Recommended: Use the same password across multiple nodes.
- Sign wallet transaction. Recommended: Use the same wallet across multiple nodes.
- Click Sign Authorizor. Then click Next.
- Click on the Token Account ID to copy to clip board.
- Go to https://fund.functionyard.fula.network/ to register your node in the testnet.
Joining by invitation
Send Token Account ID to the person who is inviting you so they can proceed with the next steps.
Indiegogo OG funder
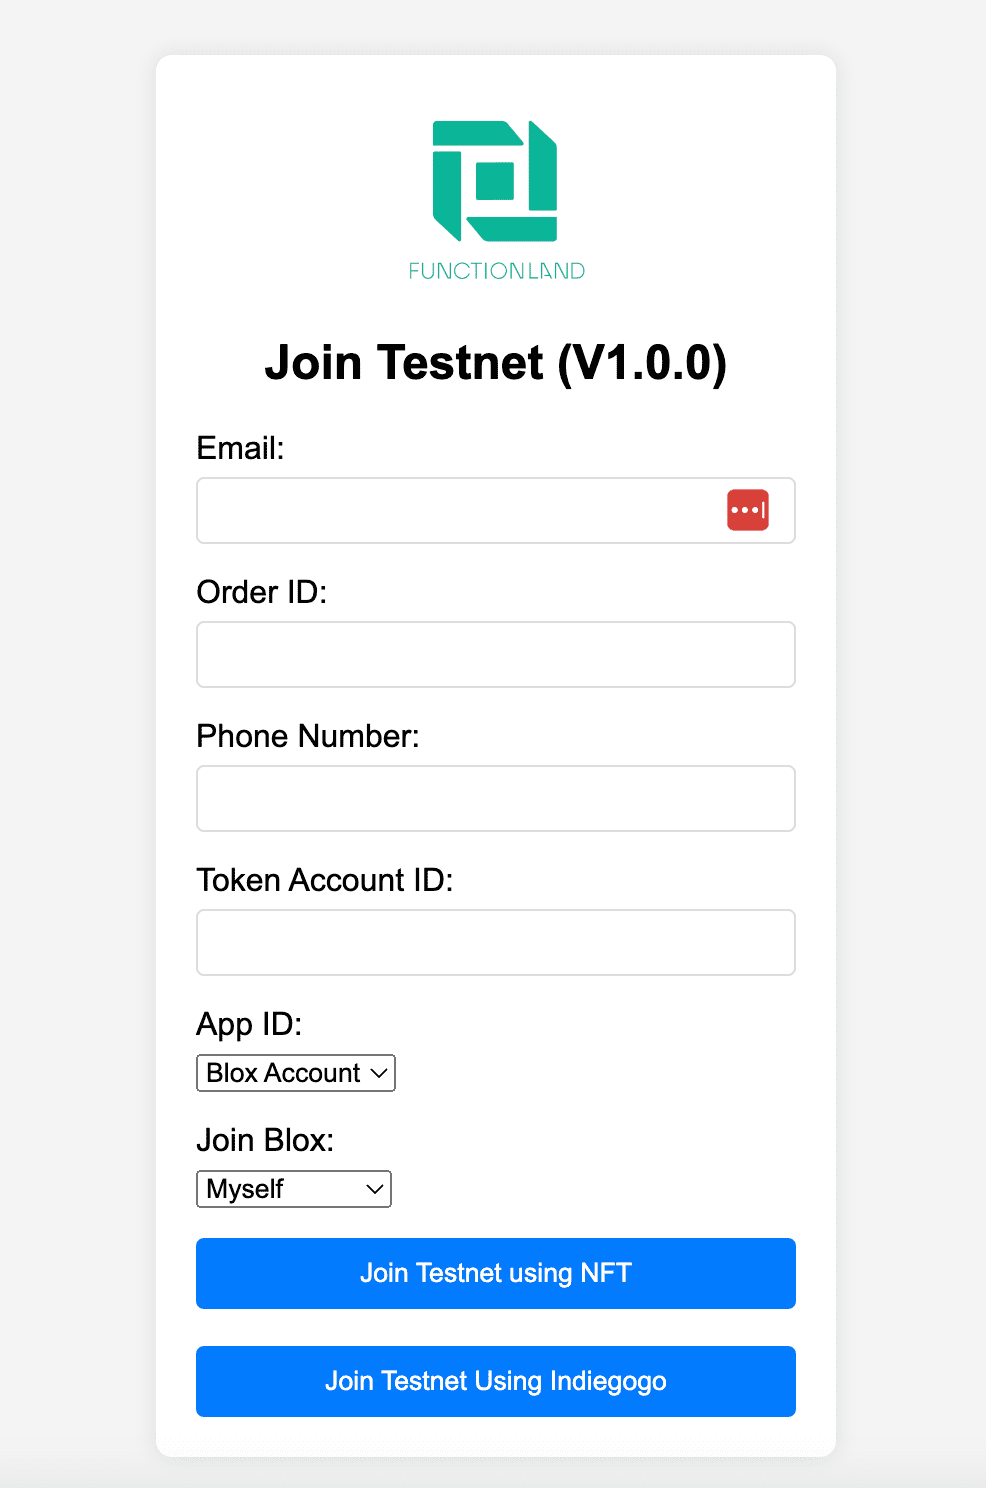
If setting up for yourself:
- Fill in your Email, Order ID, Phone Number, and Token Account ID.
- Click Join Testnet Using Indiegogo.
If inviting someone else:
- Fill in your Email, Order ID, and Phone Number.
- Fill in Token Account ID with the ID they gave you.
- Change the Join Blox dropdown to Invite Others.
NFT Hodler
- Fill in the Token Account ID.
- Click Join Testnet Using NFT.
- Sign the transaction.
Join a Pool
In the Join a Pool page, click on the pool that is closest to your geographical location. This is to ensure data replication, writing, and reading speeds are quick for everyone.
View Rewards and container status
After at least a day, the node will have earned storage rewards. Now, click on the Fula taskbar icon, to see the status of fula containers and the rewards.